![]()
How Do I Format My Artwork To The Solid Merch Templates?
You’ve customized your Vinyl, CD, or Cassette project, and now you need to format your artwork. The only problem is, you don’t know how! Here are a few tips to make sure that your artwork is formatted correctly, and can be uploaded without issues.
Download The Right Templates
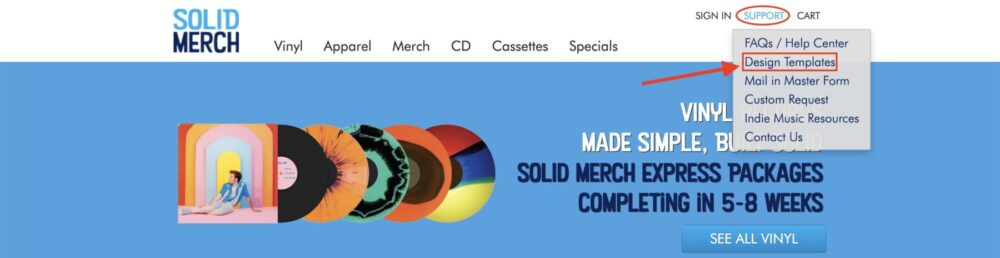
Making sure you have the correct templates is a crucial first step! To find our artwork templates, go to the support tab in the top right of our site and select “Design Templates” from the drop-down menu.
From there you can select the type of product you’ll be ordering on the left-hand side. Once you’ve done that, you’ll see all of the different templates on the right-hand side. Just select “Download Templates” and you’ll download a ZIP file containing a PDF, PSD, and AI file so you can use whatever design software is best for you. If you don’t have Photoshop or Adobe Illustrator, we recommend Photopea, since you can open PSD or AI files and it is a free online tool!

Open Your Template
Once your template is downloaded, just open the file that will work for your software. We’ll be working in Photoshop for this example, but the process should be very similar for most other design programs.

When you open your template file in your software, it should look like this:
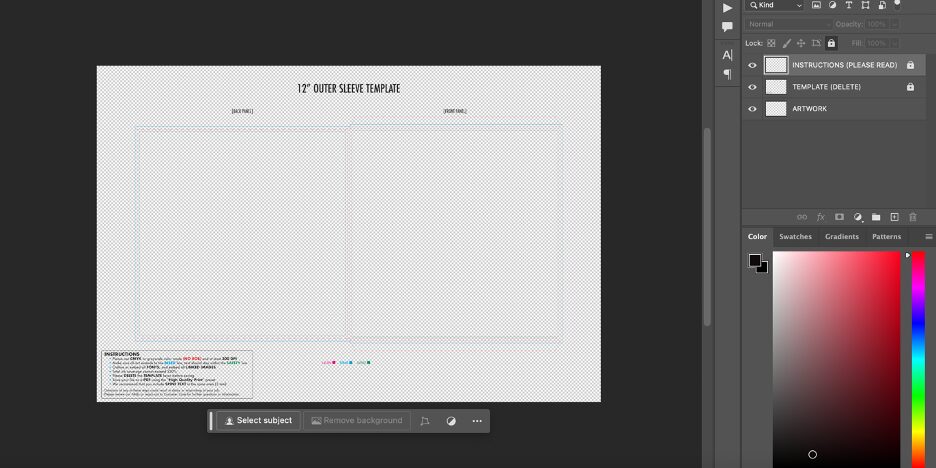
Now you’re ready to start laying out your artwork!
Format Your Artwork
Before you start dropping in your artwork, make sure your color mode is set to CMYK and not RGB. All printing must be done in CMYK, and RGB is reserved only for digital displays, so any artwork submitted in RGB will have to be converted to CMYK, which can cause significant color shifting.

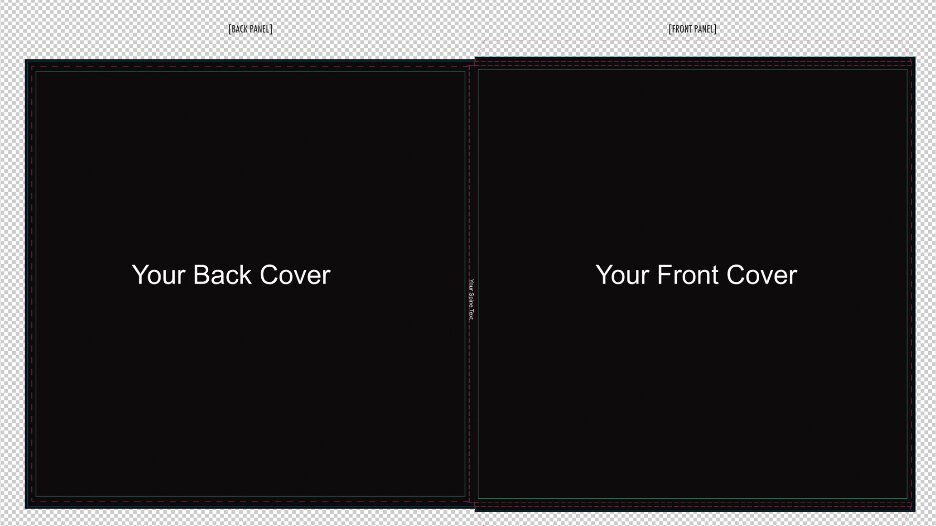
Now you can drop your front and back cover, and also add your spine text. Make sure that all artwork extends to the blue bleed lines. If your artwork does not extend to the bleed lines, your artwork will be at risk of having blank white space in the event of a print shift.
Additionally make sure that all text is within the green safety line to make sure that all text will print on the final product. It should look a bit like this:
Remove The Template Lines and Flatten Layers
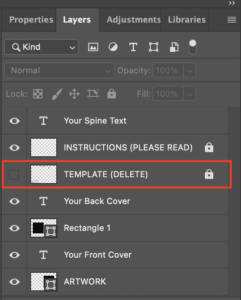
Now that your artwork is properly formatted, you’ll need to remove the template lines and get your file ready to be exported. To do this, go to your layers section and hide or delete the layer that says “TEMPLATE (DELETE)”. To hide it, just simply hit the eye icon (eye-con?) and that will hide the layer.
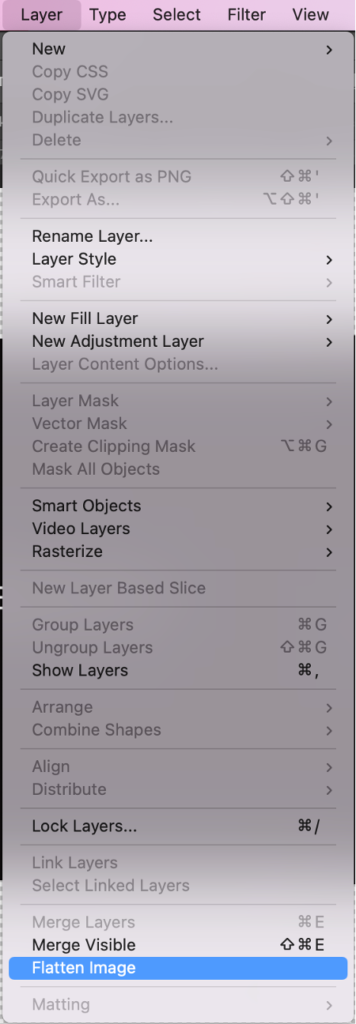
Once the template is removed, go to the Layer section in the top menu and select “Flatten Image”. This will merge all of your layers into one layer, which will make the file size smaller without compromising the image quality.
Export to PDF
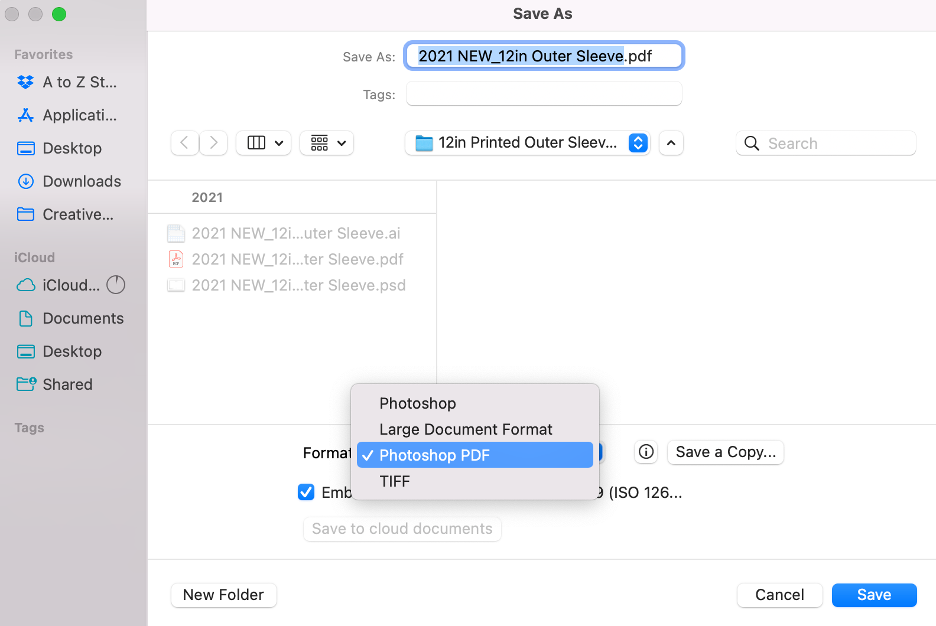
You did it! Now all that’s left to do is export your freshly formatted artwork. To do this, just go to File –> Save As and select “Photoshop PDF”.
Now you should be ready to upload your artwork and proceed with your order with Solid-Merch! If you encounter any issues or need any other guidance, our acclaimed customer care team is more than happy to help! Just shoot us an email or give us a call, and we’ll make sure to help any way we can.